How to Send Coins from an Exchange to a Hardware Wallet
As the digital world continues to grow, old institutions are being replaced by digital platforms and decentralized systems.
This new reality is shaping everything from our media outlets to our retail choices and increasingly, the domain of money, finance, and investing.
Cryptocurrencies like Bitcoin and Ethereum offer digital alternatives to the standard fiat currencies controlled by banks and governments.
Due to the nature of blockchain encryption, your digital funds – or cryptoassets – are kept secure, unregulated and out of the control of any bank. The crypto world is about the separation of money and state, giving you freedom over your finances, and the ability to remove yourself from volatile markets and exorbitant fees charged by banks and other middlemen institutions.
This article explain how to participate in this emerging alternative financial system by purchasing cryptoassets on an exchange and safely sending them to a hardware wallet, effectively setting up your own private bank.
Selecting an Exchange and Creating an Account
In order to invest your fiat currency (US dollars) into a cryptoasset, you’ll need to create an account through a digital currency exchange like Coinbase, Gemini, or Coinmama.
Gemini - Lowest fees, reputable U.S. based exchange, dollar cost averaging, advanced trading platform, Koinly tax software integration.
Coinbase - Higher fees, reputable U.S. based exchange, great mobile app, dollar cost averaging, withdraw to PayPal features, buy with debit card, Koinly tax software integration.
Coinmama - Highest fees, buy with a credit card or Apple Pay, more options for overseas buyers, high spending limits.
Okay so you’ve created an account at a crypto exchange and purchased your cryptocurrency of choice. Congratulations! You’re now the owner of your own cryptoasset balance to buy, sell, and trade with as you please.
But what happens when you want to store those funds for long term savings, investment, or to make transactions at a later time?
You need to know that your hard-earned cryptocurrency assets are stored and kept protected as securely as possible.
Even though blockchain is the safest way to store and exchange funds worldwide, any information in the digital world is potentially at-risk of being hacked and stolen.
Currency exchanges and software wallets are great for buying coins and making small transactions, but since they’re hosted digitally on online servers, they both pose a risk to your investments and financial security.
To get the most protection and highest level of cybersecurity possible for your assets, you need a hardware wallet for secure long-term storage.
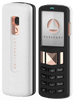
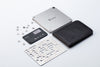
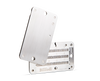
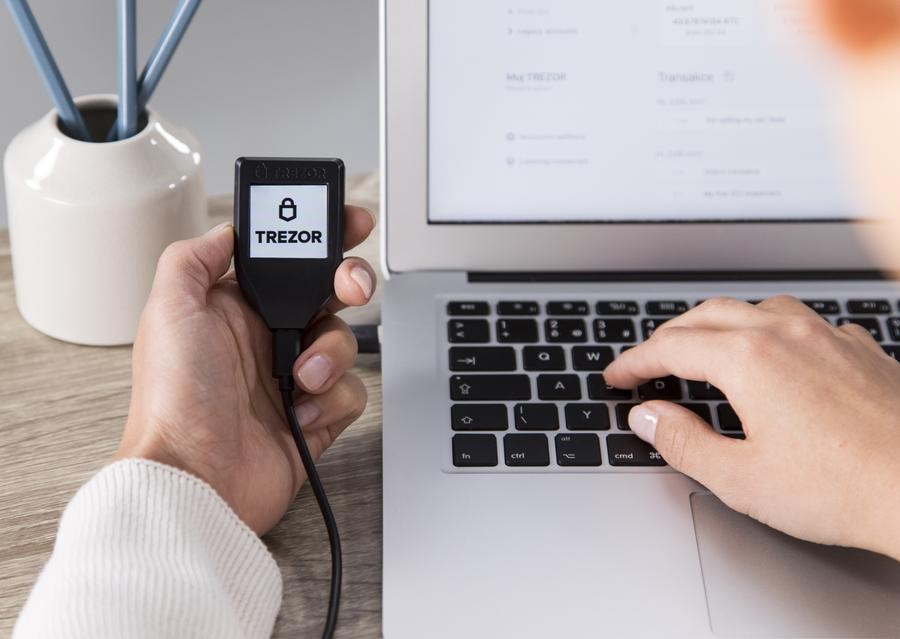
Hardware wallets are physical devices similar to an external drive, that are completely separate from online exchange platforms.
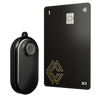
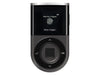
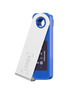
Hardware wallets like the Trezor Model T, Ledger Nano X, Trezor One, and the Ledger Nano S use cold storage to keep your cryptoassets isolated and protected – requiring you to plug into a computer or online device to access your digital currency.
Once accessed, your private keys to your assets can be stored in the hardware wallet and removed completely from online servers.
This guide will show you how to send coins from a currency exchange to your hardware wallet. Our examples focus on Coinbase and Binance, but instructions will be similar for all exchanges.
You should first have your hardware wallet initialized with a recovery seed and PIN and the firmware updated to the latest version.
For those instructions, head over here:
How to setup the Trezor Model T
How to setup the Trezor One
How to setup the Ledger Nano S
Please note that transactions can take varying amounts of time depending on the mining traffic of the blockchain. If your transaction is not automatically processed, don’t worry! Just check back in an hour or two.
How to Send Coins from an Exchange to the Trezor Model T
- Sign into your Trezor Device
- Select the coin you want to receive from the drop down menu in the top left

- Click on “Receive”
- Click on “Show Full Address”

- The address will display on the Model T’s touchscreen
- Confirm the address is the same on your computer and your Model

- Copy this address and paste it into the exchange that you are sending assets from

To Send Coins from Coinbase to the Model T
- Sign in to Coinbase
- Select “Accounts”
- Click “Send” for the coin you are sending to the Model T
- Paste in the address from Trezor in the Recipient place
- Select the amount
- Click “Continue”
- Look over the transaction details, enter the 2-step verification code and click “Confirm”

Once the transaction is complete, the balance will show in Trezor under your account. You can view your transaction history by clicking on “Transactions.”
To Send Coins from Binance to the Model T
- Sign in to Binance
- Select Funds -> Withdrawals
- Select the coin that you are sending to the Model T
- Paste in the address from Trezor in the “Withdrawal Address”
- Select the amount
- Click “Submit.”
- You can track the progress in Binance by clicking on the history page

Once the transaction is complete, the balance will show in Trezor under your account. You can view your transaction history by clicking on “Transactions.”
Join the 10,000+ crypto investors & enthusiasts and get 10% off your first order.
How to Send Coins from an Exchange to the Trezor One
- Sign in to Trezor
- Select the coin you want to receive from the drop down menu in the top left

- Click on “Receive.”
- Click on “Show Full Address”

- The address will display on the Trezor One’s screen
- Confirm the address is the same on your computer and your Trezor One

- Copy this address and paste it into the exchange that you are sending coins from

To Send Coins from Coinbase to the Trezor One
- Sign in to Coinbase
- Select “Accounts”
- Click “Send” for the coin you are sending to the Trezor One
- Paste in the address from Trezor in the Recipient place
- Select the amount
- Click “Continue”
- Look over the transaction details, enter the 2-step verification code and click “Confirm”

Once the transaction is complete, the balance will show in Trezor under your account. You can view your transaction history by clicking on “Transactions.”
To Send Coins from Binance to the Trezor One
- Sign in to Binance
- Select Funds -> Withdrawals
- Select the coin that you are sending to the Trezor One
- Paste in the address from Trezor in the “Withdrawal Address”
- Select the amount
- Click “Submit”
- You can track the progress in Binance by clicking on the history page

Once the transaction is complete, the balance will show in Trezor under your account. You can view your transaction history by clicking on “Transactions.”

Get free crypto investing & security guides, exclusive discounts, and more!
How to Send Coins from an Exchange to the Ledger Nano S
- Sign in to Ledger Live
- Go to “Manager”
- Install the coin that you are sending from the exchange by selecting it from the “App Catalog”

- Once you have installed the coin, an icon of that coin will display on the Ledger Nano S’s screen
- You need to add at least one account for every coin on the Ledger Nano S. Click on the plus sign in Ledger Live on the left, next to accounts
- Select the coin that you just installed

- Click continue
- The screen will display “Connect and unlock you Ledger device” and “Navigate to the Bitcoin app on your device”

- On the Ledger Nano S device, scroll to the icon of the coin and press both buttons
- The Ledger Nano S should now display “Use wallet to view accounts”
- On Ledger Live, you should now be able to click “continue”
- Let the account Synchronize.
- Then you may chose to rename the account, and click “add account”
- Then “Confirm” and x out of the account

- You can now receive coins to this account
- In Ledger Live, click on “Receive”
- Select the account, click continue

- On the Ledger Nano S, select the coin by pressing both buttons. The Ledger Nano S will then display “Use wallet to view accounts”
- On Ledger Live, verify the address on the device
- The Ledger Nano S will display the same address that is now shown in Ledger Live. You can just check the last few digits to make sure this address is the same
- Copy this address from Ledger Live and paste it into the exchange that you are sending coins from

- To Send Coins from Coinbase to the Ledger Nano S
- Sign in to Coinbase
- Select “Accounts”
- Click “Send” for the coin you are sending to the Ledger Nano S
- Paste in the address from the Ledger Nano S in the Recipient place
- Select the amount
- Click “Continue”
- Look over the transaction details, enter the 2-step verification code and click “Confirm”

Once the transaction is complete, the balance will show in Ledger Live under your accounts. You can view your transaction history by clicking on “Portfolio.”
- To send coins from Binance to the Ledger Nano S
- Sign in to Binance
- Select Funds -> Withdrawals
- Select the coin that you are sending to the Ledger Nano S
- Paste in the address from the Ledger Nano S in the “Withdrawal Address”
- Select the amount
- Click “Submit”
- You can track the progress in Binance by clicking on the history page

If you’re in the market for cryptocurrency and want a streamlined platform that lets you purchase cryptos like Bitcoin and Ethereum quickly with just a credit card – then an exchange like Coinmama is exactly what your growing crypto capital needs.
When you sign up with Coinmama, purchasing cryptocurrency is as easy as pulling your credit card or debit card out of your pocket and punching in your card number.
From Visa to MasterCard, Coinmama offers some of the industry’s highest spending limits – so you can buy the coins you want without holding back.
For crypto investors who value an actual in-person P2P financial transaction, an exchange platform like LocalBitcoins facilitates over-the-counter trading of local currency for Bitcoin.
The service allows users to meet in person and pay for bitcoins in cash or via a choice of online banking. LocalBitcoins is instant, secure, and private, letting you trade bitcoins in over 16,000 cities worldwide.
As the world of blockchain and cryptocurrency grows, it’s essential to do everything possible to stay ahead of the curve and keep your cryptoassets fully protected.
The Crypto Merchant offers the industry’s best in hardware wallets and leading lifestyle apparel choices with FREE 2-4 day shipping anywhere in the US.
JOIN NOW AND GET 10% OFF YOUR FIRST ORDER
Join the 10,000+ crypto investors & enthusiasts who receive exclusive discounts, crypto investing and security guides, digital privacy protection tips and more every week.